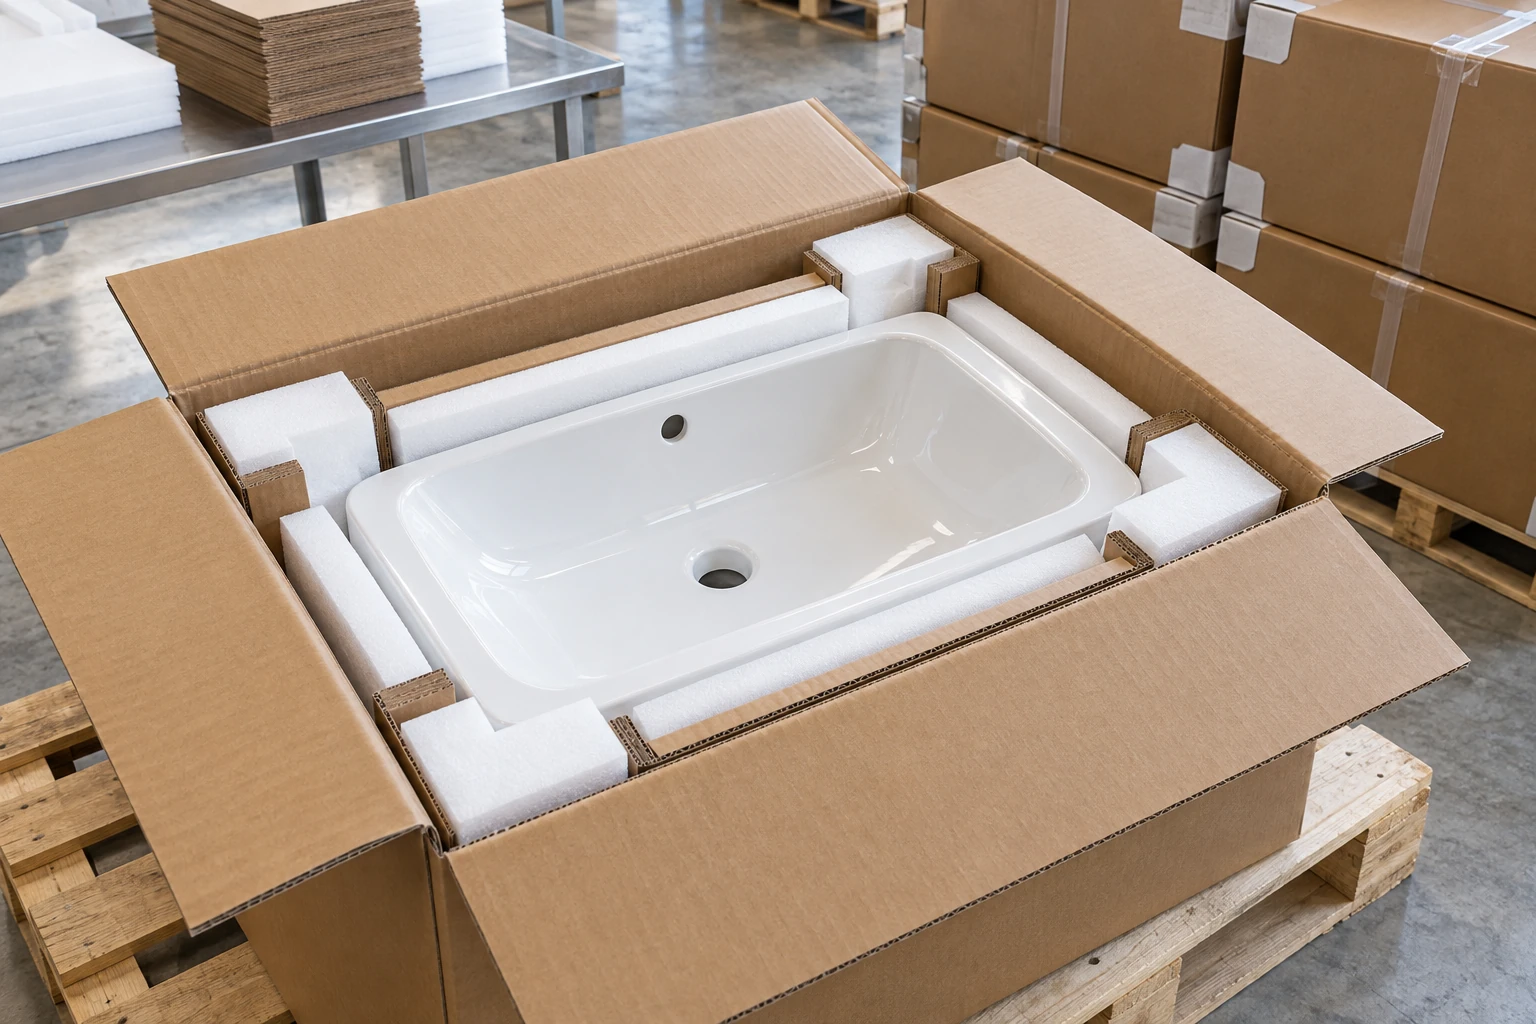
Glaze inspection can become subjective very quickly. One person examines a basin under a bright handheld lamp from a few centimeters away; another views it at arm’s length in ordinary room light. Both report honestly, but their conclusions may differ because the method was never agreed.
A practical inspection process creates consistent viewing conditions and focuses attention on the surfaces customers will actually see.
Define the finish before production
Begin with the approved sample or an agreed finish reference. Record the model, color, gloss or matte character and any decorative effect. The pre-order ceramic basin checklist explains how to keep that reference connected to the purchase order. Photographs help with identification but should not be the only color standard because cameras, screens and lighting shift appearance.
Write acceptance language that can be applied. “Perfect glaze” is not measurable. The buyer and supplier need to understand which visible conditions are important, how they will be observed and how findings will be classified.
Divide the basin into viewing zones
The inner bowl, upper rim and main external faces are usually more visible than the underside or concealed contact areas. Installation changes visibility: an above-counter basin exposes more of its exterior than a semi-recessed or wall-hung model.
Mark primary and secondary zones on a drawing or sample photographs. This prevents an inspector from treating a concealed underside mark in exactly the same way as a visible blemish beside the drain.
Use repeatable lighting and viewing distance
Diffuse neutral light is useful for an overall appearance check. A controlled grazing light can reveal waviness, surface variation or small points that are difficult to see otherwise. The method should not create a test so extreme that every normal ceramic surface appears defective.
Keep the viewing distance and inspection time consistent. Rotate the basin in a defined sequence rather than searching indefinitely from every angle. For metallic or high-gloss finishes, check more than one angle because reflections change the visual result.
Learn what the surface is telling you
Inspect for visible pinholes, rough points, glaze skips, contamination, scratches, cracks and areas with unexpected texture. Also look at edges, overflow openings, faucet holes and drain areas, where glaze transitions and handling are more complex.
Do not confuse reflections with defects. Wipe dust and fingerprints with an appropriate clean cloth before judging the surface. If a mark disappears after cleaning, record the housekeeping issue separately from product quality.
Check color, gloss and consistency as a group
Place the product near the approved reference under the same light. For white glaze, note overall tone and surface uniformity. For colored finishes, compare hue and depth. Our white versus colored ceramic sink guide covers the commercial and approval differences between these finishes.
When several basins will be installed close together, pairwise consistency may matter more than when units are distributed across separate rooms. Tell the supplier how the products will be used.
Make defect records useful
A useful report includes model, quantity checked, defect type, location, size or extent, viewing condition and a clear photograph with context. An extreme close-up without a view of the whole basin makes it hard to understand where the issue appears.
Use consistent names for recurring findings. This allows teams to see patterns by model or process instead of debating terminology on every shipment.
Combine surface checks with the rest of inspection
Glaze is only one part of product approval. The same inspection should verify identity, critical dimensions, holes, fittings where included, packing and quantity. Agree a sampling and acceptance approach appropriate to the order and buyer risk.
The goal of glaze inspection is not to create a theatrical search for microscopic flaws. It is to protect the visible quality the customer expects, using a method the factory and buyer can repeat.
Use arrival feedback to improve the next inspection
Factory inspection is one checkpoint, not the end of the quality record. Ask the receiving warehouse to separate transport damage from surface findings and photograph any recurring issue before products move into distribution. If the same area or finish concern appears repeatedly, review the approved sample, lighting method and the packing contact points used for ocean freight together.
This feedback helps the next inspection focus on evidence rather than memory. It also distinguishes a production pattern from an isolated handling mark, making corrective discussions faster and more useful.